How To Make Focaccia Bread Art
Decorative focaccia bread is the food trend of the season. With thousands of home bakers taking there otherwise plain looking bread and transforming it into bread masterpieces! And you can do it too. I will show you how to perfectly decorate your focaccia bread so it’s not just a work of edible art, but absolutely delicious.
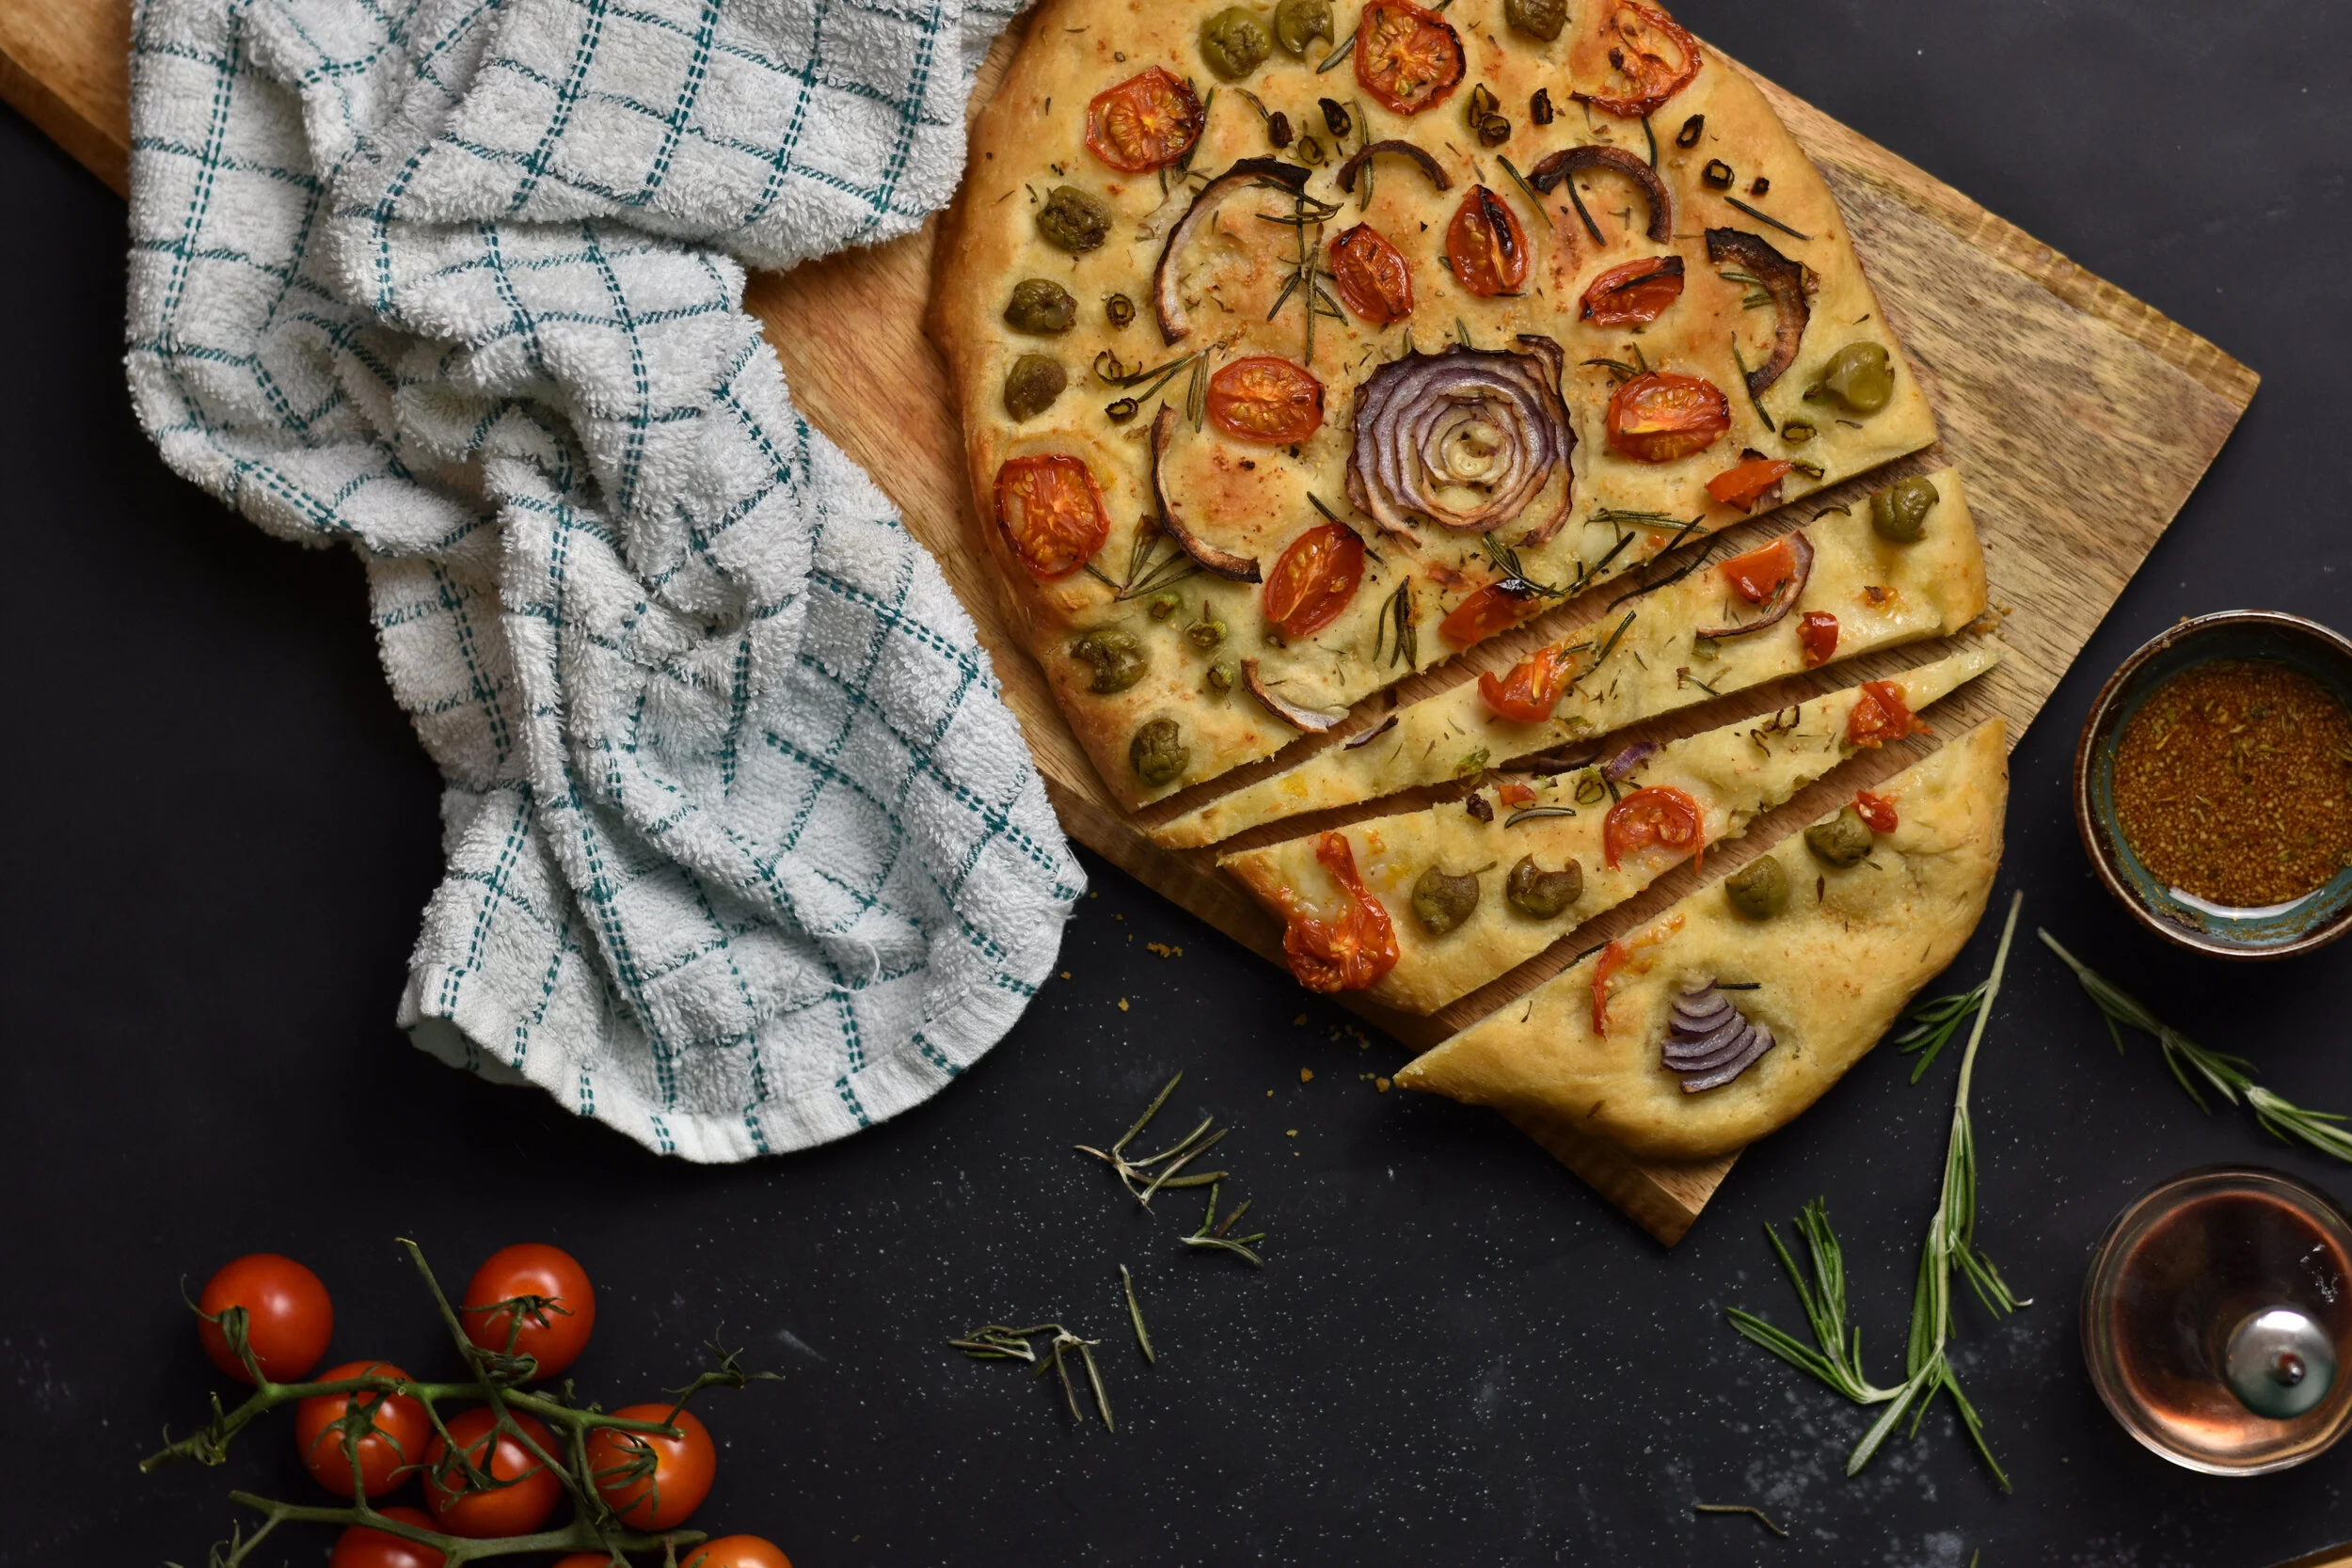
Focaccia bread art.
The basics of focaccia bread art
First thing first. You will need to know how to make focaccia. There is no point creating this beautiful focaccia masterpiece, if when you taste it, it tastes like a bland brick of dough.
Luckily for you I have just posted the easiest focaccia bread recipe you will find. So head over to this post here, make yourself some focaccia and head back over to this post before you put it in the oven.
Side note: The garlic and herb focaccia recipe I have on that post works perfect with most toppings for creating focaccia art.
Now for the basics. The way you’re going to create your focaccia bread masterpiece is by using different ingredients such as herbs, veggies and maybe even fruits to decorate your bread in whichever pattern you want (recommendations are below)
You create this masterpiece before baking your focaccia in the oven. Not after! Once your bread is baked your toppings will sink in and roast to make your bread look fabulous.
That's it. It really is that easy. Make some super easy, quick and delicious focaccia bread. Artistically throw some veggies on top and bake for around 20/25 minutes and your focaccia masterpiece is complete.
Focaccia recipes
Before you even consider your artistic masterpiece, you need some focaccia. So here’s a couple of great recipes to help you out.
This recipe is for super fluffy focaccia. The outside will be crispy, and the inside… omg, let me tell you about the inside.
Its soft, light, airy, pillowy and just so so good. Try it out, let me know what you think.
If you don’t mind your focaccia being less fluffy then the above, or you have no yeast on hand but really want to give focaccia bread art a try. Then try this no-yeast recipe.
It might lack the super fluffiness. But my gosh is it delicious.
Ingredients for decorating your focaccia bread
But what ingredients are you going to use to decorate your focaccia? That’s the big question.
Luckily, focaccia works great with a number of ingredients, sweet and savoury. Truth be told, it’s pretty damn hard to mess up with your choice of ingredients. Certain things are obvious. Don’t chuck a bunch of chocolate on top with asparagus. That’s probably not going to taste very nice. Try keeping with a certain flavour profile. You want sweet bread? Use only sweet ingredients. You want savoury? Use only savoury ingredients. Easy.
With savoury being the most popular/the classic and in my own opinion, most delicious. I’ve included a list of focaccia topping ingredients below and what you can use them for.
Asparagus
Works great for creating the look of trees
Olives
Work great for tree leaves. Imagine making an olive tree on top of your bread with asparagus and olives?
Red onions
Not only does the red colour make a great contrast in colours, but sliced thinly they look like flowers
Spring onions
Depending on how you cut them they can look like flower stems or even seaweed if you’re doing a “under the sea” theme
Basil
Works perfectly for leaves
Cherry tomatoes
Another great one for colour contrast, having these little pops of bright red and yellow looks brilliant.
Rosemary
Perfect for grass or mini trees
Shredded parmesan
Perfect for dirt or sand
Yellow bell peppers
Works well for creating sunshine
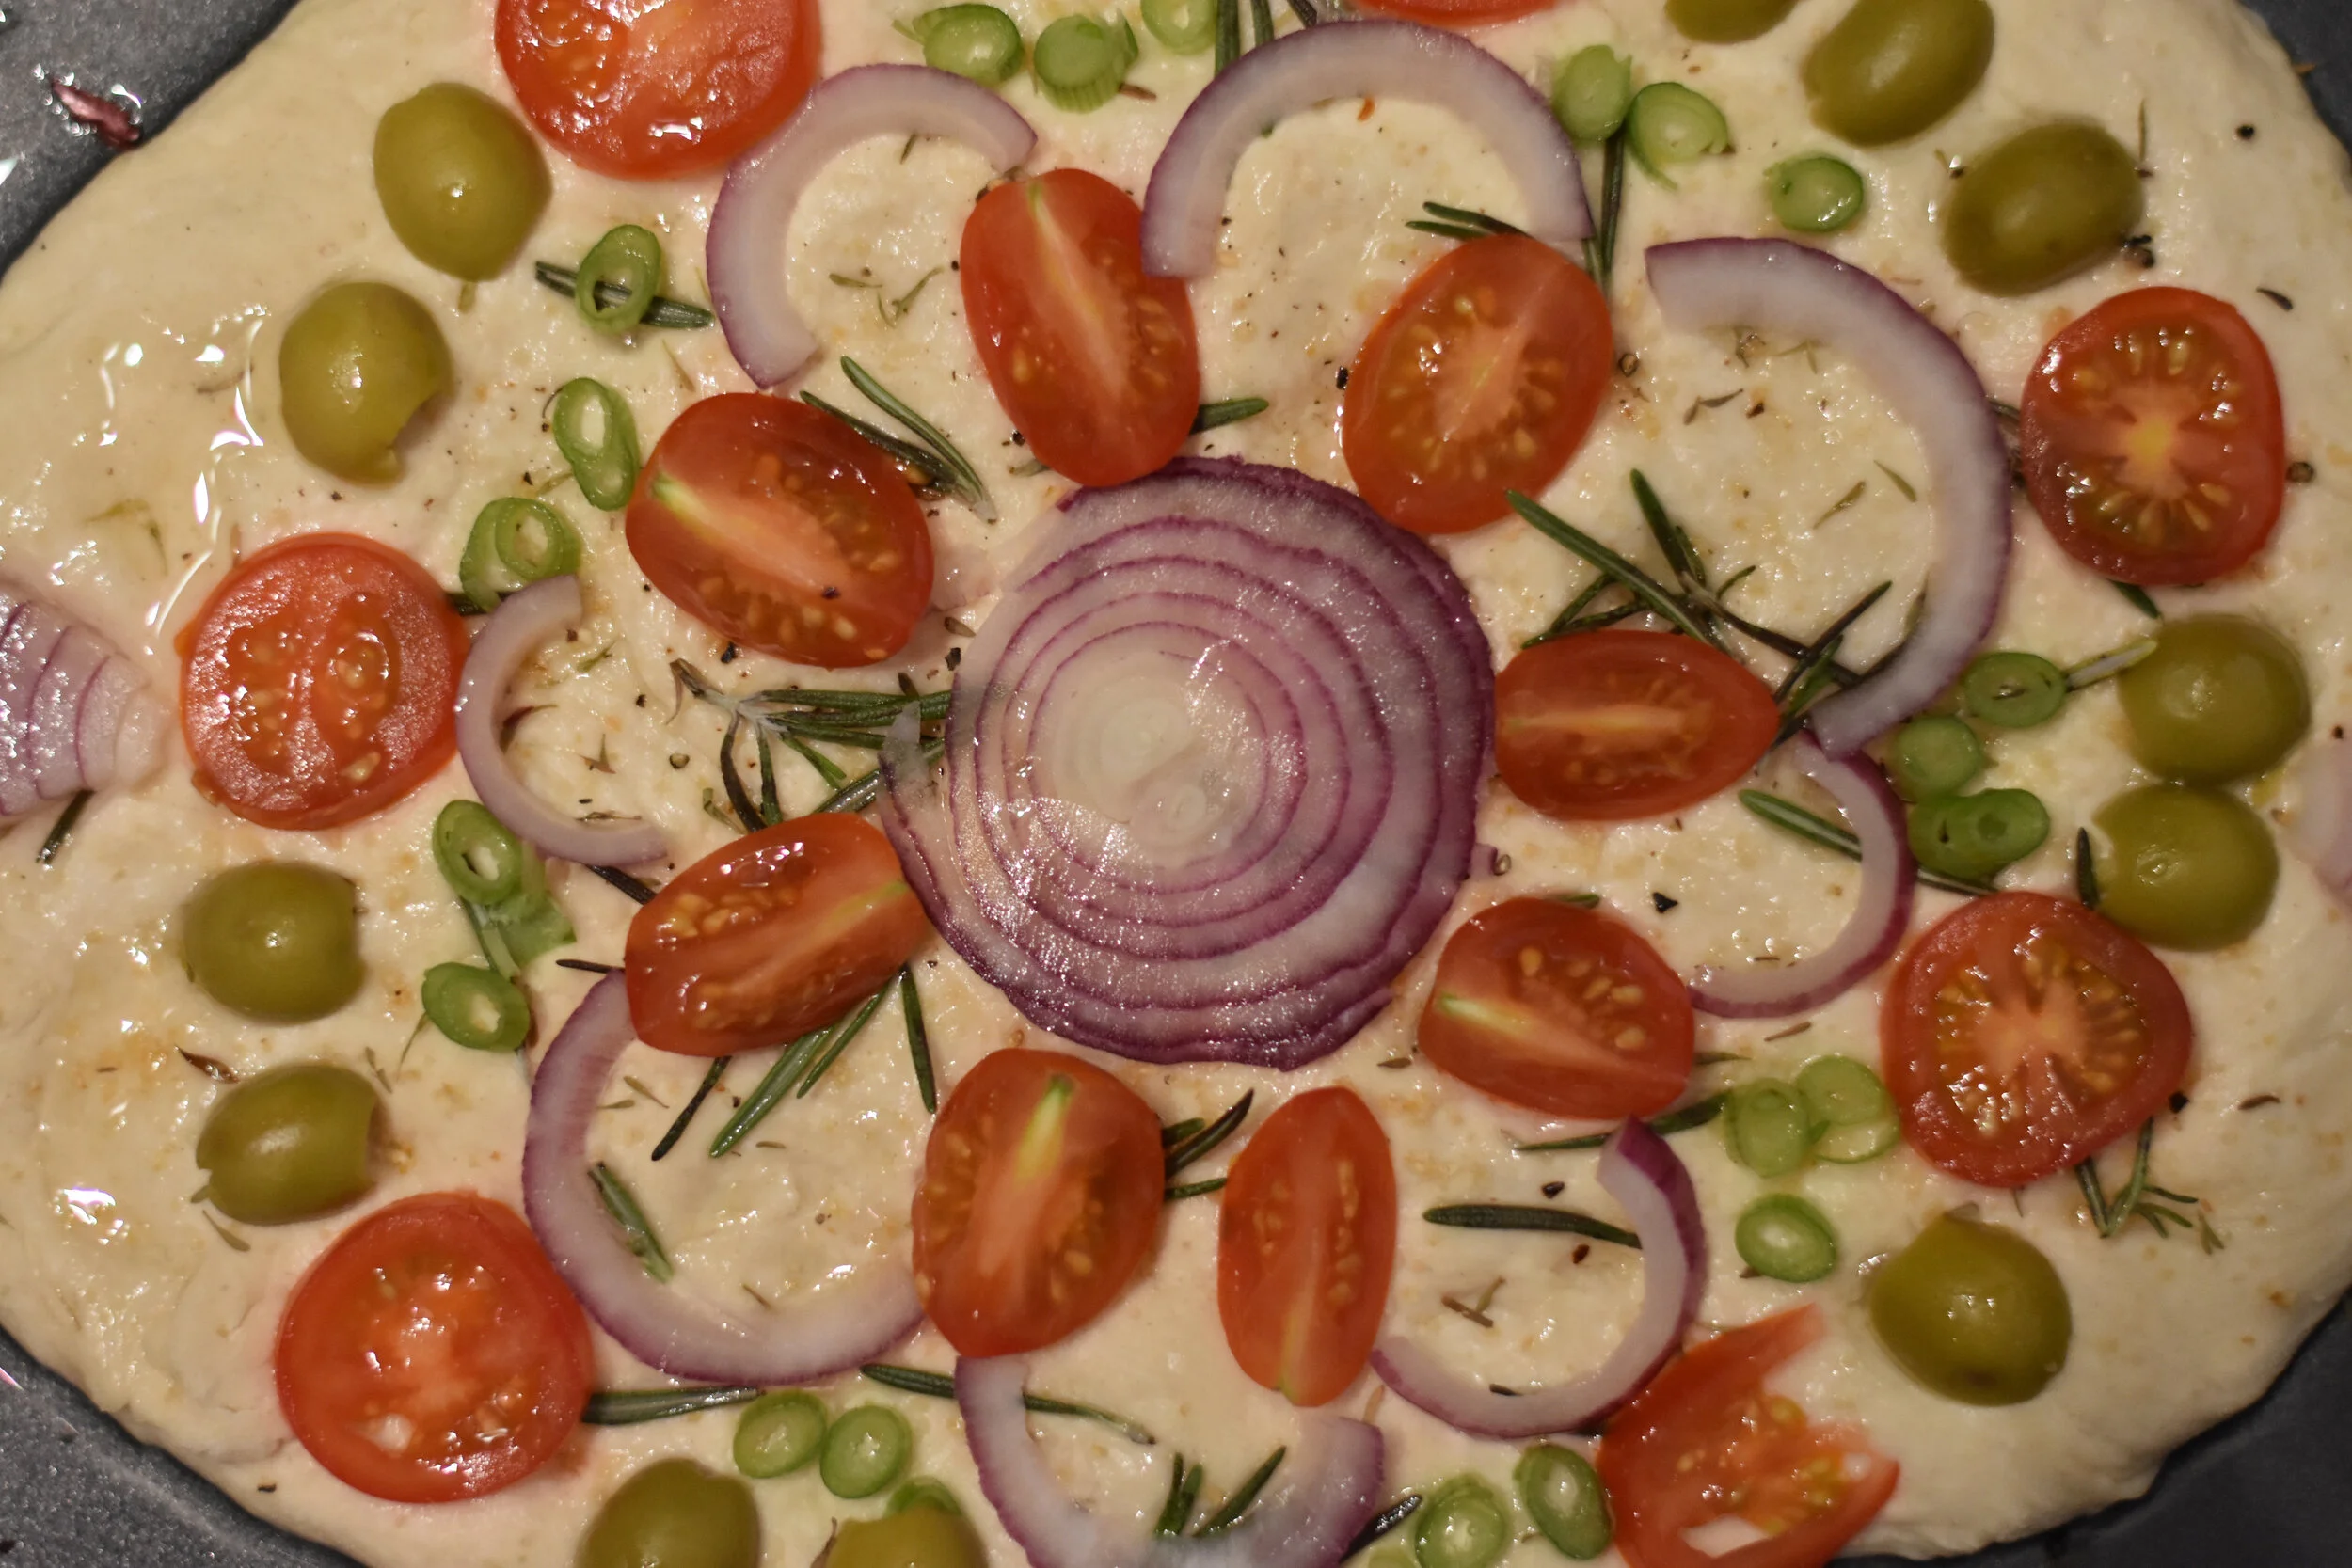
Focaccia bread art close up.
How to create your Focaccia Bread Art Edible Masterpiece
Step one
Make your focaccia and add your toppings before baking.
Step two
Design your masterpiece. Having a clear vision of what you’re going to do before hand will help a lot. Whether you’re going to create a beautiful landscape, flowers or perhaps just a pretty pattern of focaccia mosaic like I did.
Know what you’re going to do and decide which ingredients will work best to achieve it. Draw it out first.
Step Three
Put together your masterpiece. Remember to push them into the bread slightly so when it bakes they don't shift out of place too much.
Step four
Bake in the oven for 20-25 minutes. Time for baking varies depending on the ingredients you have chosen. You want your focaccia to be golden brown and your toppings to be nicely roasted. So use the “20-25 minutes” time frame as guidance and keep checking on how your focaccia art is cooking along.
Focaccia art ideas
With all that being said, you’re probably bored of me waffling on about focaccia art this and focaccia art that. I get it, you’re ready to go! So below I have included some examples of what you can do to give you inspiration for your own focaccia art.
But first, 2 important notes before you get creative!
First of, remember you’re decorating prior to baking. Sometimes they will move around slightly whilst baking. To avoid this whilst avoiding a burnt topping - use a low and slow cooking method - Low heat, longer bake. Thinks like olives, cucumber, herbs, they can go on after baking if you prefer.
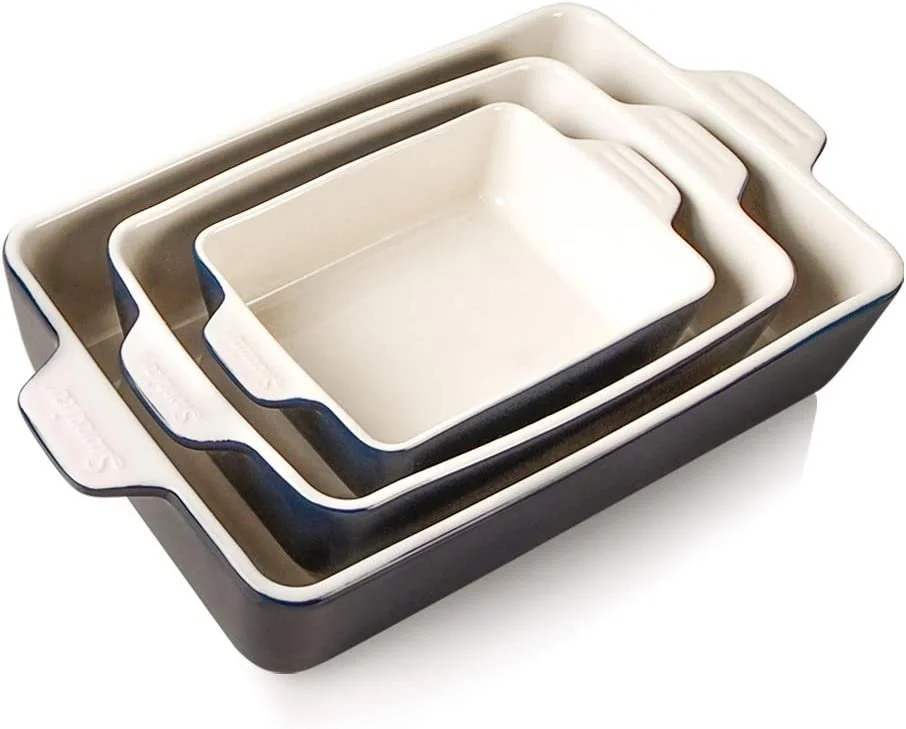
Secondly, get a good dish - Not a baking tray. you want somthing with som height so it keeps your focaccita inplace and raising upwards, not outwards. This isn’t just for focaccia art either. This good practise for tasty fluffy focaccia regardless. Check out my recommendations below.
Basic Focaccia Tin
This here is the basic. It doesn’t look like much but it gets the job done cheaply and well. You NEED that height on the tin when cooking focaccia and this has plenty of height.
My top recommendation
Look through any number of articles on this website and you’ll notice just how much I bang on about good ceramic kitchenware. These will work perfect for focaccia aswell as damn near anything you’re going to cook in the oven. And, they’re great value for money, especially considering it’s a set.
Flowers
In this one, the baker uses focaccia as her canvas to create Van Gogh inspired art. All should we say, Van Dough. Image source.
How about going for more of a horizontal/Landscape look? Image Source.
Mosaic/Pattern
How about these quilted focaccia buns with vegetable patterns to create colourful art. Image Source.
Not quite Nigella (Great name) creates this vegetable focaccia mosaic which is absolutely inspired! Image Source.
Seasonal
How about some seasonal and Holiday focaccia? Think red and blues for winter, oranges for autumn or even Halloween and Christmas specific bakes?
Christmas wreath focaccia bread art.
Halloween themed focaccia bread art.
Christmas tree focaccia bread art.
Out Of The Box Thinking
Now for some of my favourites. Just plain old “out of the box thinking” below are two of my favourites from this category. I hope they inspire focaccia masterpieces of your own!
Check out this beauty from @vedika.agarwala on Instagram.
How about some classic art inspired focaccia bread?
So there you have it. My guide to creating focaccia art. Have you tried it yet? If so I would love to know what you’ve come up with! Send photos of your focaccia masterpiece over to hello@smartblend.co.uk and I will share my favourites right here on this post. I can’t wait to see what you come up with! Happy baking.


