
7 EXPERT Smartphone Food Photography Tips For Instagram 2025
foodie Instagram accounts are on the rise here in 2025. I can see why, people love to eat and see interesting food. Why wouldn’t you want to share the food you’re proud to of baked, cooked or assembled? Or share the food you’ve had on your travels?
The problem is, people either think food photography is unrealistic on smartphones, or they don’t have the skills to compete with professional camera’s.
Well let me assure you, these tips will help you vastly improve, and get the best photos out of your food photography. You could become the next big Instagram foodie. Also, with the quality of Samsung, iphone and all smartphone camera’s getting better and better. You have the ability to take professional quality food photos from the comfort of your smartphone.

Whether you want to start a Instagram food blog, best places to eat, or just turn your personal instagram account into a foodie based account. These tips will help in your quest to become a 2020 food instgrammer influencer.
If you want to check out my own foodie Instagram account, you can do so here: https://www.instagram.com/smartblend_drinks/
Or by searching @smartblend_drinks on instagram
If you want to give it a follow then that’s even more appreciated! Thank you.
Shameless instagram plug aside. Here is the list of 7 expert smartphone food photography tips for, but not solely, Instagram 2020.


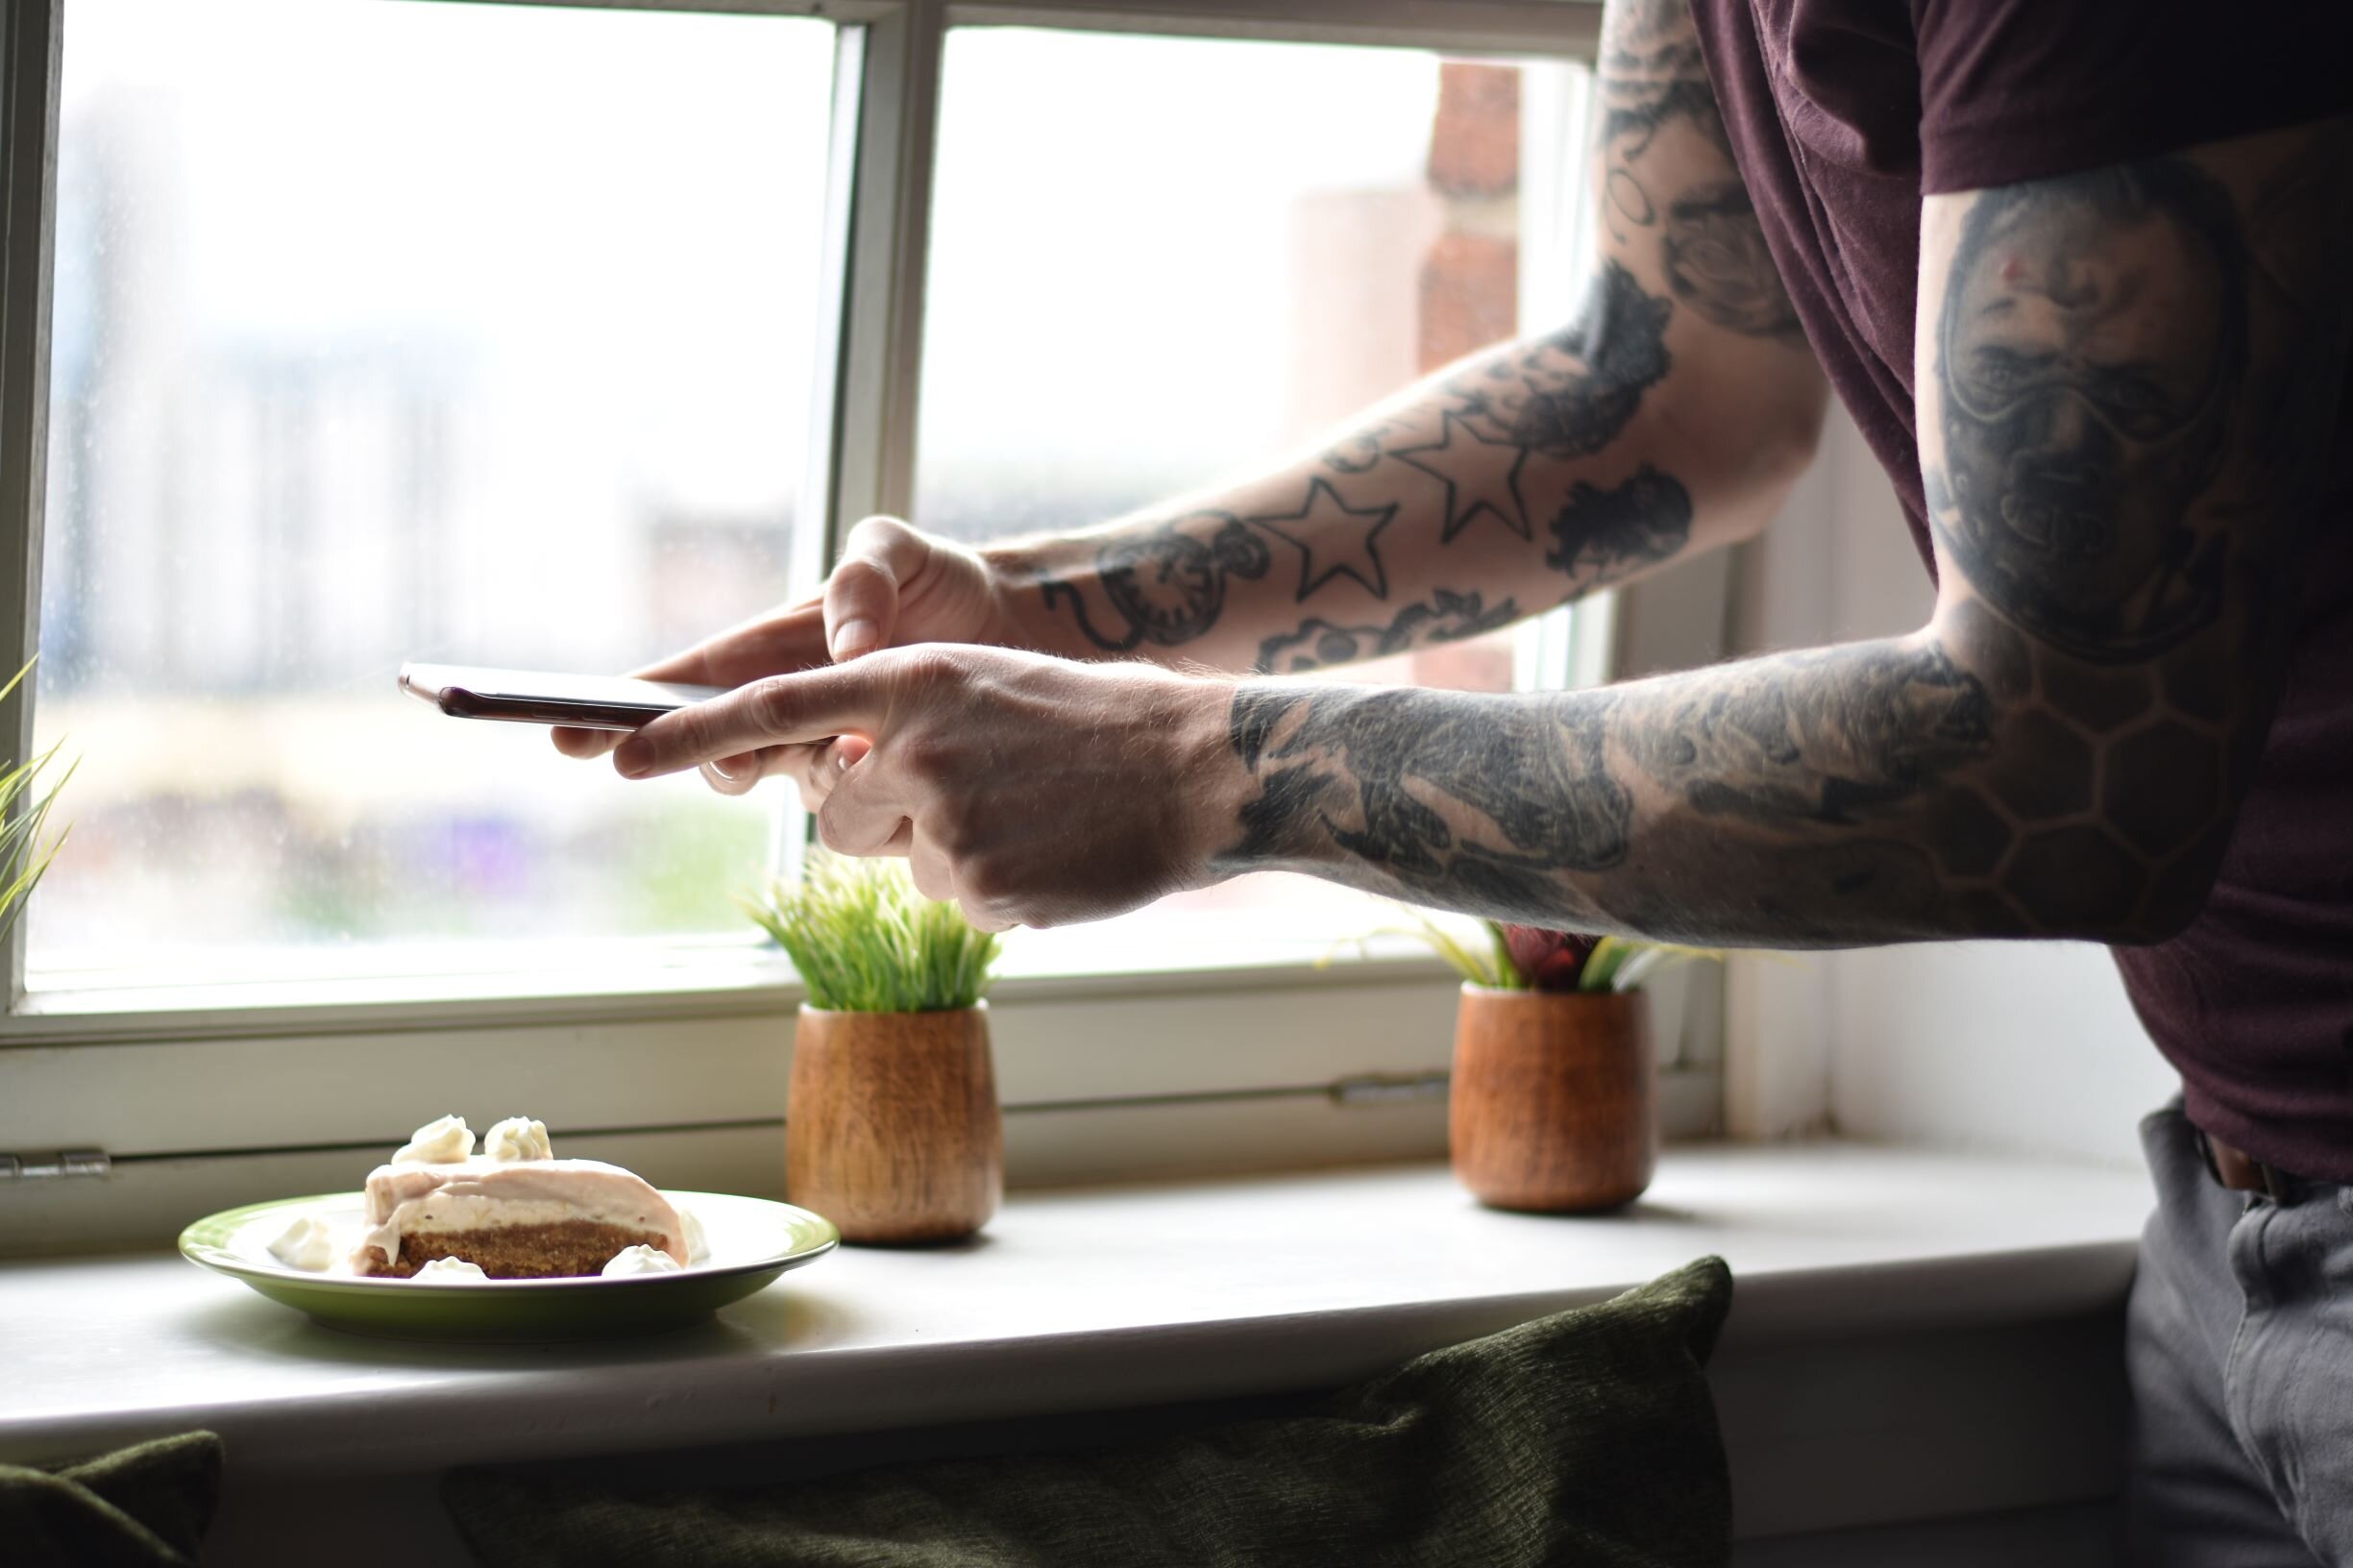
Find Natural light
When photographing food, especially on your phone. Natural light is going to be your best friend. Artificial lights, such as lamps, are likely to give of an orange hue which won’t do your food photos any good. With natural light, the clouds in the sky act as a giant diffuser. Softening that light, making it perfect for food photography. Your best bet, are overcast days when it's more cloudy, rather than direct sunlight. Daylight will provide the most neutral colour. Making your food look as accurate as you see it with your eyes.
You want that light to be behind your food, or to the side. Depending on what food you're shooting, you may have to move around to find the right angle. Lighting for food photography isn't one angle suits all. Soups, cereals and foods with shine to them will benefit the most from the light coming from directly behind the food.
Taller foods, such as ice creams or burgers will benefit the most from side lighting. So play around with the direction of the light to find what suits your food the most.
Generally speaking, you want to avoid light coming from the same direction you’re shooting from. This is easier done if you’re inside. Just find your window and set up your shot next to the window. When you’re shooting from outside however, it can be more difficult. So look up, find where the sun is, and make sure you’re not facing the same way.
Top tip
Avoid using your phones camera flash. Not only will the direction of the light be unflattering for food photography. It will make your photos look overexposed.
2. Adjust your brightness
Most people tend to just snap and go when they use their smartphones camera. Don't neglect the settings your phone camera has. The most important being the brightness level.
When you click the darkest point of the frame, the camera will adjust to focus. The same goes for the lightness. Usually and for most smartphones, after clicking on part of the screen, a bar will appear for you to adjust the settings manually. Take advantage of this. As stated above. Lighting is important for food photography. If you don’t adjust your camera settings in harmony with that lighting then it just won’t work.

This is the kind of bar that would usually appear on most smartphones when you click a part of the frame. drag it left to darken the image and right to brighten it. Different phones may show this bar in different places.
Top tip
Instagram photos tend to get better engagement with brighter photos. Darker photos can get lost in the continuous scrolling of instagram. A bright photo will draw attention. So when taking a brighter photo, click on the brightest part of your frame to focus, and pull that brightness bar up.
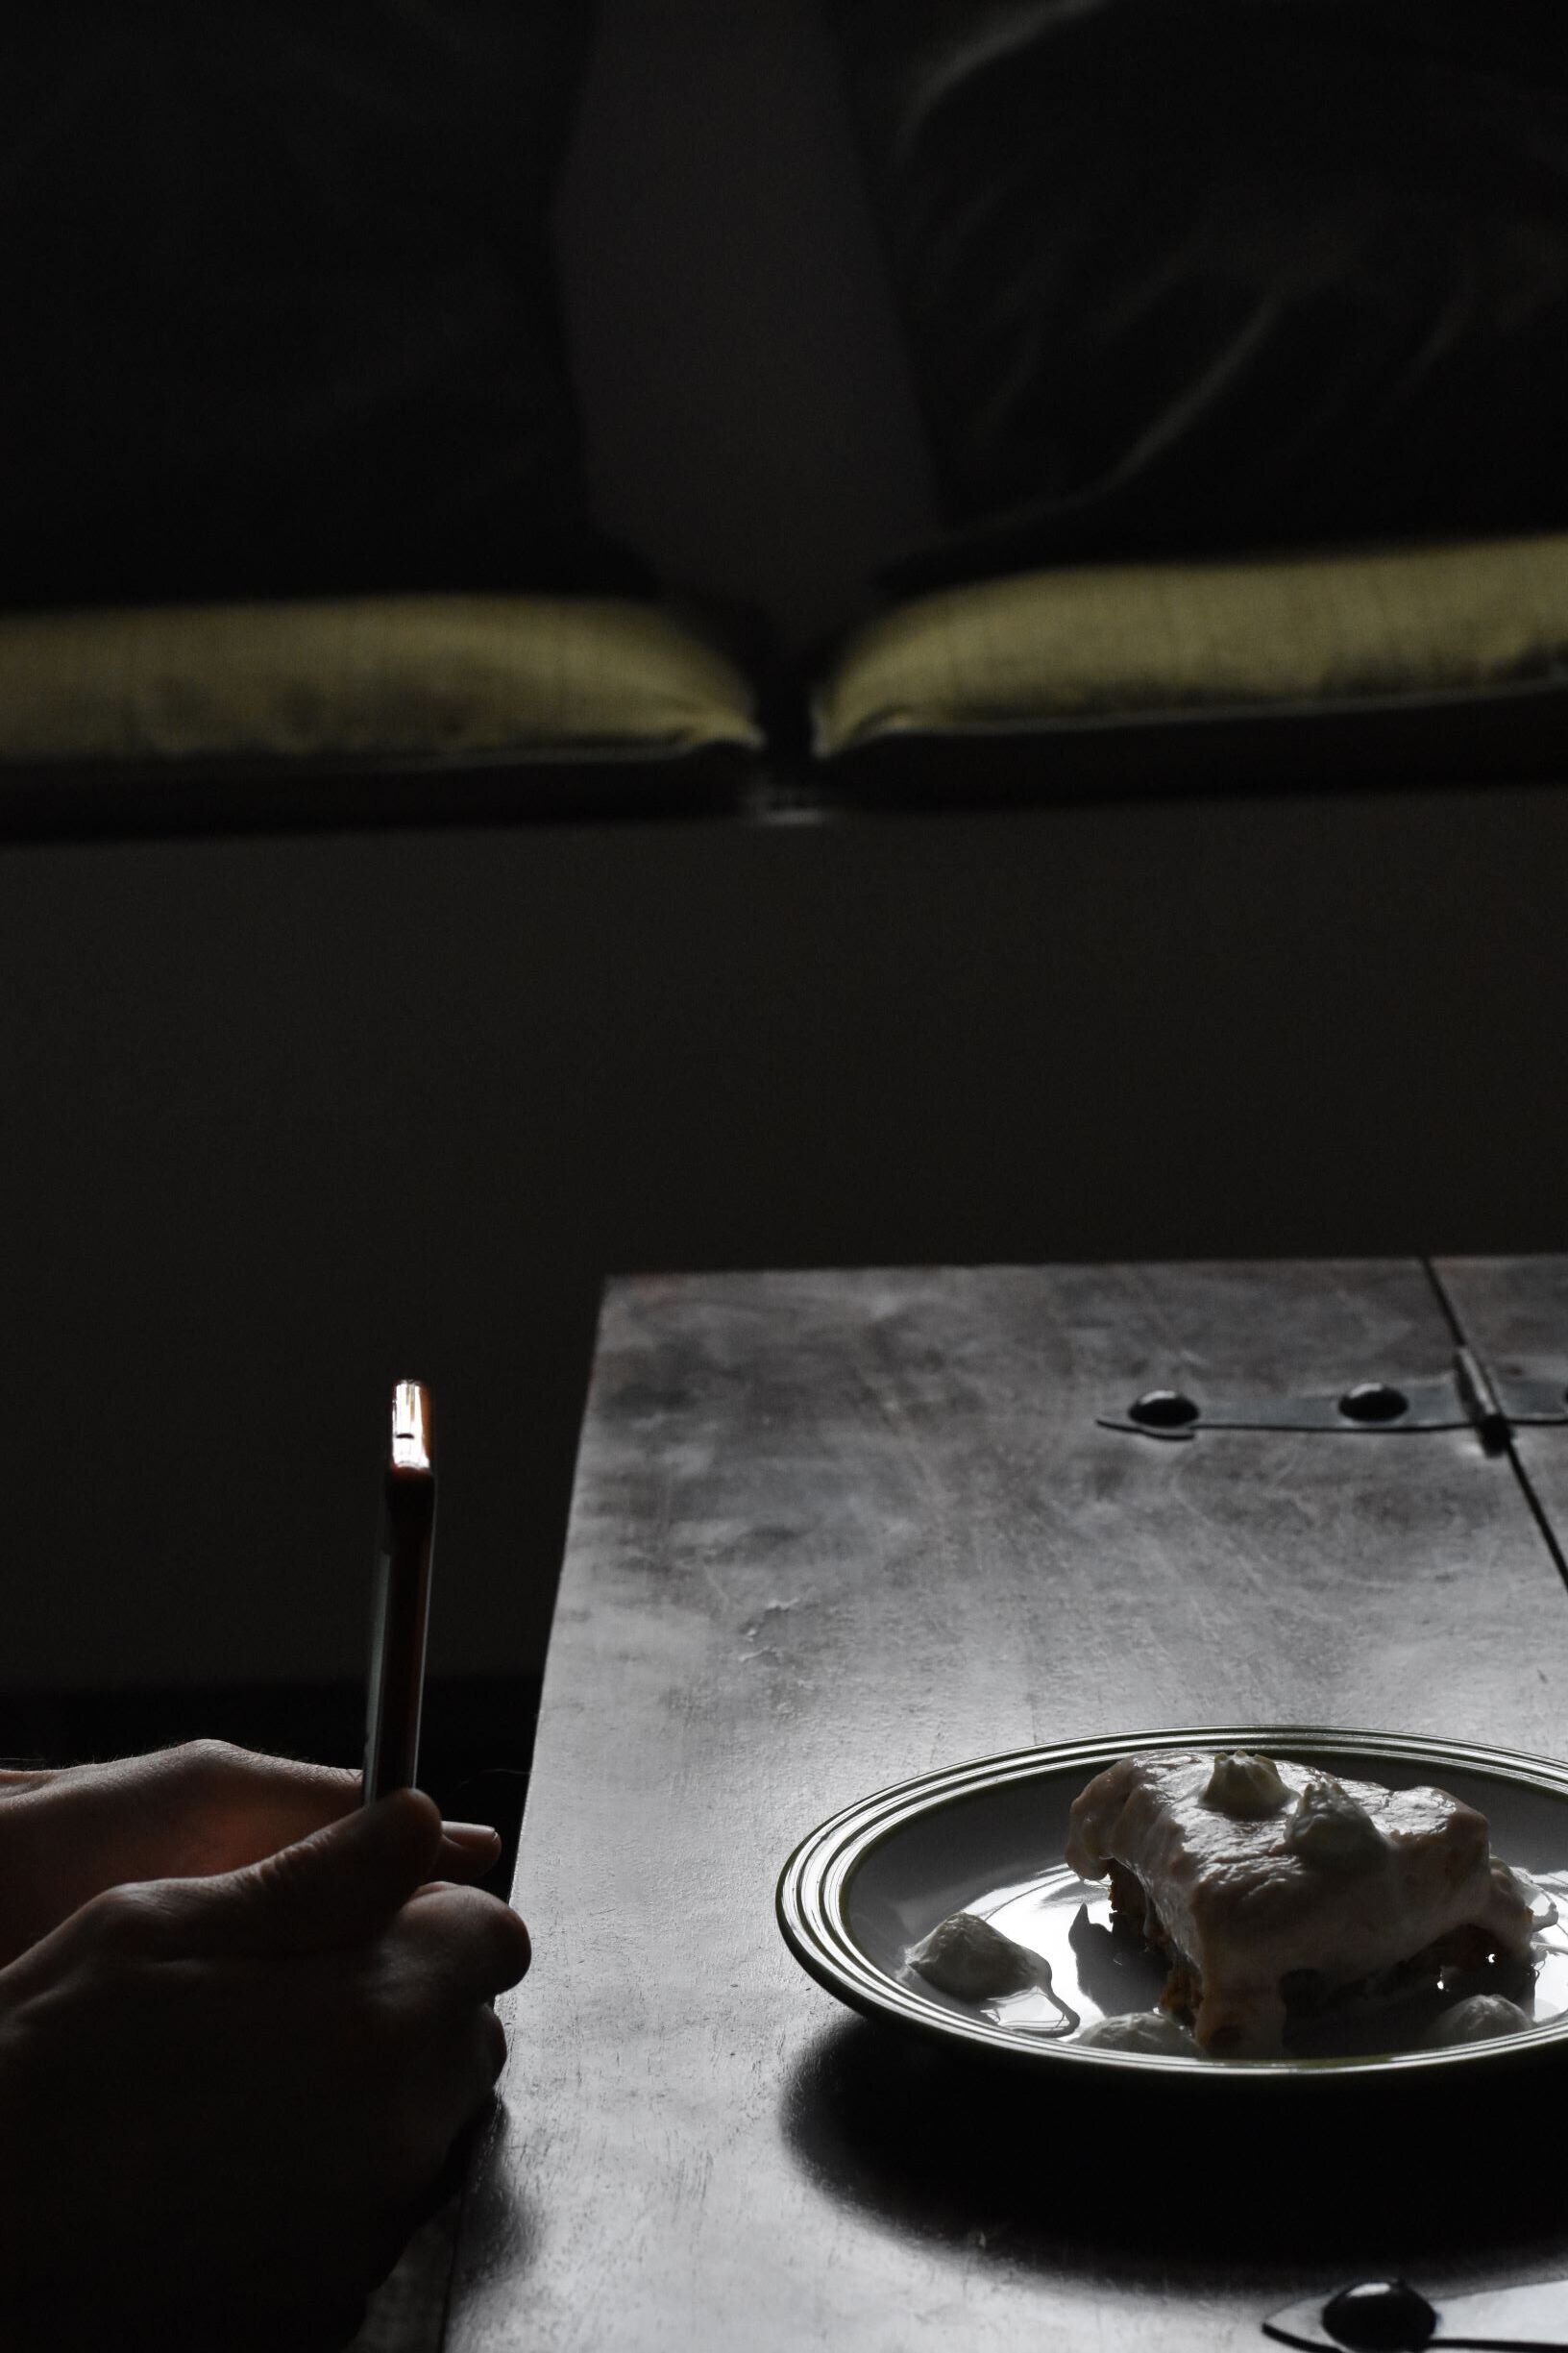
3. Get a friend to help
Sometimes you will be in a situation where you don’t have any natural light. Situations such as being in a restaurant or basement bar. In these kind of situations, food photos can come out looking dull.
To get a better shot you want to use a second phone. Get your friend to use there torch setting on there phone, to back or side light the dish whilst you take your food photos.
It’s a simply tip that will improve you’re smartphone food photography massively.

4. Try out different angles
Different angles will suit different foods. It’s not a one size fits all. For foods that are flatter or have interest from the top, such as, pizza, soups and cereals. A birds eye view shot will benefit the most.
Foods that are taller or have details on the side. Such as, sandwiches and cakes. Will benefit the most from shooting from straight on. But this is more of a general guide then a rule.
To get the most out of your photos you want to try a variety of angles and see which angle works the best for your situation. You may just be surprised with the outcome.
Front on angle

Top angle
5. Props with a purpose
Props are something that will also improve you food photography hugely. However, you have to be careful when choosing your props. You can quickly make the prop become the focus point of the image, or clutter your image.
To use props correctly you want to consider the props purpose. Why is it in the frame? Does it make sense? A photo of a cake with a tomato in the background makes no sense. A photo with a cake with a cake mixer in the background is a prop with a purpose. It makes sense, it adds to the photo, giving it a story.
Below is a list of just a few good props you can use for food photography.
cutlery
cooking utensils
Scattered ingredients that where used in the food
kitchen towels
Hands
Cookbooks
Chopping boards

Follow my social media here
6. Edit outside of Instagram
These days, smartphones can take great images. The photography you can do with a modern Samsung or iphone can often compete with photography from a DSLR camera. Smartphone cameras and regular cameras use to be far apart in terms of quality, but it’s not like that anymore. Often, it’s the skill of the person holding the camera that sets the two apart.
However, just because your smartphone takes a high quality photo. Doesn’t mean your work is done there. You want to edit your food photography. Often, you would just stick a Instagram filter on the photo. Instagram filters look good, and it’s easy. You could spend an hour tweaking your photo to perfection in editing software. Instagram will do it in seconds. But Instagram filters can be limiting. So its best to get into the habit of doing it yourself. Soon you’ll get into the habit of manual editing photos. You’ll become quicker at it and find your own unique photo style.
Theirs plenty of apps for your smartphone that will help you easily edit the perfect photo for Instagram. Just go to your app store and type in “photo edit” see which are the highest rated, which have the best reviews and user friendly features.
When i’m editing food photos that i’ve taken on my smartphone, i use an app called “Snapseed”. It’s easy to use and does pretty much everything i want it to. From white balance adjustments to brightness and contrast. Not to mention its free and you don’t need to be an expect editor to use it.
7. Know when to call it a day
The title here says it all. Know when to call it a day. It can be frustrating when you cant get the right photo. The longer you try the more frustrated you’ll get, the more frustrated you get the less likely you are to get a good shot.
Not to mention, it can be frustrating for other people. Especially if you’re in a restaurant climbing on top of chairs and tables trying to get the right photo for 30 minutes whilst your friend is eating alone and your food is going cold.
A good rule of thumb, if you’re at home taking photos and you haven’t got the perfect photo in 30 minutes, give up. Try again later or another day. If you’re in a restaurant and you haven’t got that shot in 5 minutes then just give up. It wasn’t meant to be.

Final thoughts
These tips and tricks will help you to capture the perfect food photo, and overall, take your smartphone food photography to the next level. However, without practice you will never master the techniques or find the ones that work best for you. The best thing for your food photography is to practise practise and practise. That’s my top tip for expert food photography.
Finding your own style will greatly improve you smartphone food photography. Especially if you’re posting your photos on Instagram, having your own style will make for a much more cohesive feed. Once again, to get your own style, you need to practise.
My last top tip is to not get discouraged by other Instagram food photographers. When your posting a lot of food photos on instagram, you’ll notice you start following other foodies on instagram. Which is good, engaging with a foodie community, finding new food photography inspiration.
Just don’t get into a habit of comparing other peoples photos with your own. It can be very discouraging to see photos you deem as “better” then your own.
What you need to realise is, when it comes to food photography. You’re always going to be your own biggest critic. You know exactly what went on in that photo and how you edited it. You know what you could of done better and where the flaws are.
You may spend hours looking at the same photo between taking it, editing it and posting it to instagram. You’re bound to pick up on the flaws. When you look at other peoples photos you’re not going to see that, you just see the end image. You don’t see what went on behind it. The curtain on that image hasn’t been pulled open. Other people will be in the same boat, where they admire your images but criticise there own. So go easy on yourself.
The majority of people will admire your food photography more then you admire your own food photography.
Instagram followers and likes are not a reflection on how good your photos are.
Want to know how to take better cocktail photos? check out this post on the matter
If you’ve enjoyed this post feel free to comment below, or use the below buttons to share this article. Thank you